

I have a web app and a personal website. The app uses Google Analytics, where I can see the number of active users in the current moment. How can I show this number on my website?
User Story
In the form of a user story: as an owner of the website, I want to show the number of active users in the current moment.
Plan
First, we will take secrets from google console. Then we will write a function for fetching the number of active users in the current moment. Then we will create infrastructure via Terraform and deploy our code to AWS Lambda. Finally, we will call the lambda from the website.
Google Analytics
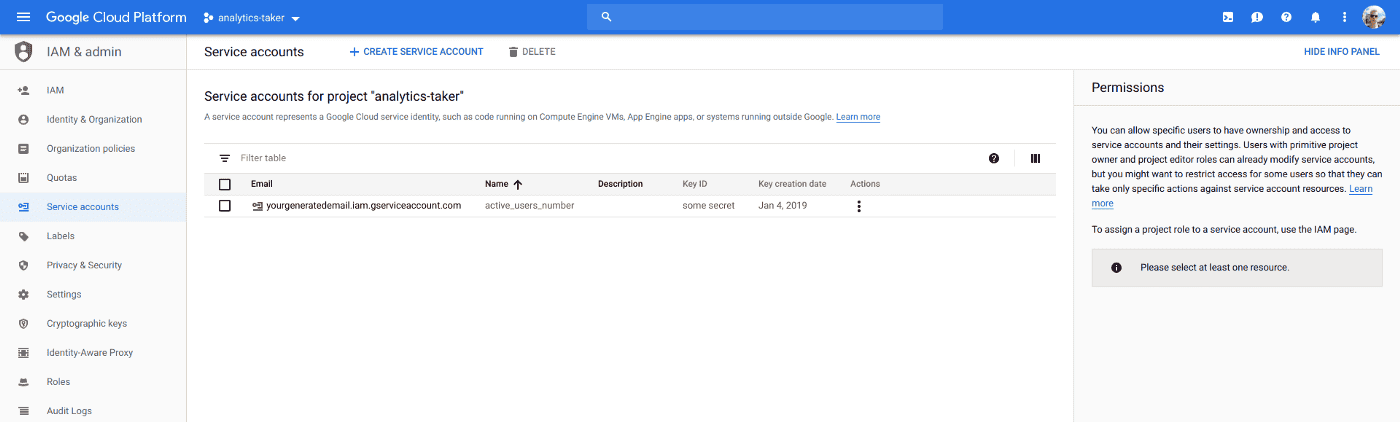
Before writing the actual code, we need to get two things from google: client_secrets.json and view id. To obtain them, we want to enable Google Analytics API for the project. At the end of the process, we will get client_secrets.json. Then we need to take generated email:
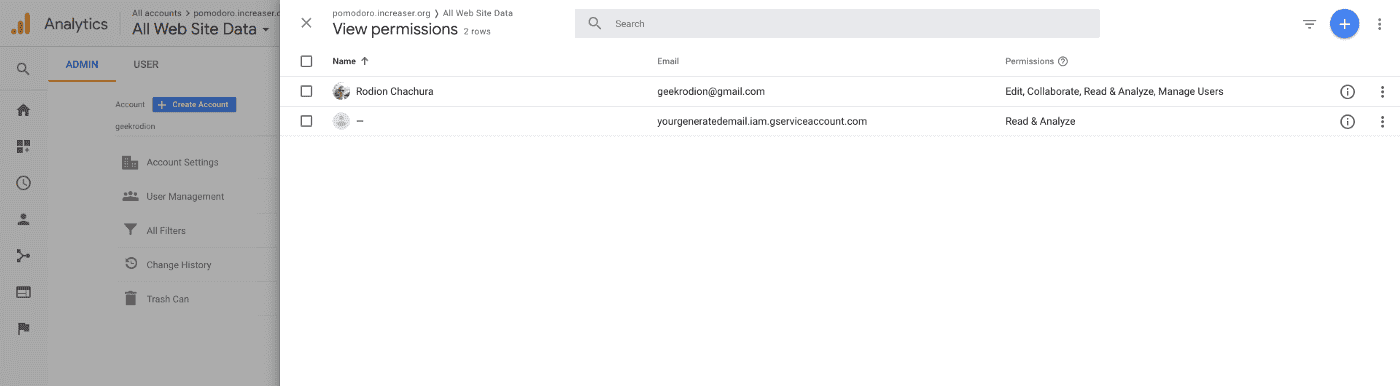
To add a new user go to Admin > View > User Management. Save the view id of a newly created user for the future.
Python Function
When we have client_secrets.json and view id, we are ready to write the function. Before doing this, we will create directories and install the required libraries.
mkdir analytics-taker
cd analytics-taker
mkdir src
cd src
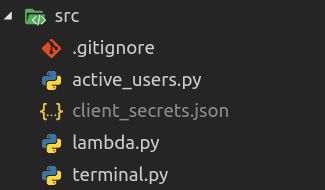
pip3 install requests oauth2clientInside of src we will put a file with secrets from Google and create three python files. So our directory will look like this:
Let’s start with active_users.py. In this file, we will create a function that will send a request to Google Analytics and will return a number of active users.
import requests
import json
from oauth2client.service_account import ServiceAccountCredentials

SCOPES = ['https://www.googleapis.com/auth/analytics.readonly']
KEY_FILE_LOCATION = 'client_secrets.json'

def get_active_users_number(view_id):
  credentials = ServiceAccountCredentials.from_json_keyfile_name(KEY_FILE_LOCATION, SCOPES)

  session = requests.Session()
  token = credentials.get_access_token().access_token
  session.headers= {
    'Authorization': 'Bearer ' + token
  }

  url_kwargs = {
    'view_id': view_id,
    'get_args': 'metrics=rt:activeUsers'
  }
  url = 'https://www.googleapis.com/analytics/v3/data/realtime?ids=ga:{view_id}&{get_args}'.format(**url_kwargs)
  response = session.get(url)
  response.raise_for_status()
  result = response.json()
  active_users = result['totalsForAllResults']['rt:activeUsers']
  return active_users
Let’s test this function.
import json
import sys

from active_users import get_active_users_number

active_users_number = get_active_users_number(sys.argv[1])
print('active users number: {0}'.format(active_users_number))
python3 terminal.py <VIEW_ID>AWS Lambda
Nest step is deploying our function to AWS Lambda. First, we need to create the handler function.
import os
from json import loads, dumps

import sentry_sdk

from active_users import get_active_users_number


def handler(event, context):
  view_id = os.environ.get('VIEW_ID')
  try:
    active_users_number = get_active_users_number(view_id)
    return {
      'statusCode': 200,
      'body': dumps({
        'activeUsersNumber': active_users_number
      }),
      'headers' : {
        'Access-Control-Allow-Origin' : '*'
      }
    }
  except Exception as e:
    sentry_sdk.init(os.environ.get('SENTRY_KEY'))
    sentry_sdk.capture_exception(e)
    return {
      'statusCode': 500,
      'body': dumps({
        'error': 'Fail to fetch data from google analytics'
      })
    }
From some point on I started using Sentry in all the new small projects I make. If you are not using Sentry, you can remove the sentry_sdk call from the function.
Next, we are creating files for deployment automation.
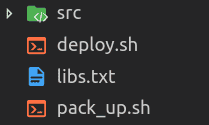
In list.txt we have libraries required for our function. Commands to create a zip file with all code for lambda are inside of pack_up.sh:
mkdir package
cp -a src/. package/

while read lib; do
  pip3 install $lib -t ./package
done <libs.txt

chmod -R +x ./package/
cd package
zip -r ../function.zip *
cd ..
rm -rf package
We won’t look at deploy.sh since we don’t have the infrastructure for our code yet. Before start creating infrastructure we need to zip file with the code so let’s run the command:
. ./pack_up.sh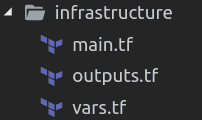
vars.tf
variable "aws_access_key" {
  default = "<AWS_ACCESS_KEY>"
}

variable "aws_secret_key" {
  default = "<AWS_SECRET_KEY>"
}

variable "region" {
  default = "<DEFAULT_REGION>"
}

variable "sentry_key" {
  default = "<SENTRY_KEY>"
}

variable "view_id" {
  default = "<VIEW_ID>"
}


variable "name" {
  default = "tf-analytics-taker"
}

variable "bucket_name" {
  default = "tf-analytics-taker"
}

variable "bucket_object_name" {
  default = "function.zip"
}

variable "handler" {
  default = "lambda.handler"
}

variable "memory_size" {
  default = "512"
}
We can specify them directly or by creating environment variables like this:
export AWS_ACCESS_KEY_ID=<AWS_ACCESS_KEY_ID>
export AWS_SECRET_ACCESS_KEY=<AWS_SECRET_ACCESS_KEY>
export AWS_DEFAULT_REGION=<AWS_DEFAULT_REGION>

export TF_VAR_aws_access_key=$AWS_ACCESS_KEY_ID
export TF_VAR_aws_secret_key=$AWS_SECRET_ACCESS_KEY
export TF_VAR_region=$AWS_REGION

export TF_VAR_sentry_key=<SENTRY_KEY>
export TF_VAR_view_id=<VIEW_ID>
In file main.tf we describe resources required for running our code in the cloud. Those are:
- S3 for saving the function
- Lambda for running the function
- API Gateway to communicate with the function
With all files in place, we can create infrastructure by running these commands inside of infrastructure folder:
terraform init
terraform apply
After running terraform apply at the end of output you will see a green line with the URL. Using this URL we can run deployed lambda. Now you can test the lambda by opening this URL in the browser.
OK, but what if you make changes to the function and want to see new version deployed? Let’s write a script for deployment.
# $1 = function name
# $2 = bucket name
# $3 = bucket object name (zipped folder)

. ./pack_up.sh

aws s3 cp $3 s3://$2/$3
aws lambda update-function-code --function-name $1 --s3-bucket $2 --s3-key $3
Run it by typing:
. ./deploy.sh tf-analytics-taker tf-analytics-taker function.zipCalling AWS Lambda from Website
Now we can integrate a call to the lambda in the website. I am using react, redux, redux-saga in my website and integration of the function looks like this:
// in saga:
...
while (true) {
  yield put(tick())
  yield call(delay, TICK_PERIOD)

  try {
    const { activeUsersNumber } = yield call(get, POMODORO_ACTIVE_USERS_URL)
    const number = Number(activeUsersNumber)
    yield put(updateActiveUsersNumber({ app: 'pomodoro', number }))
  } catch (err) {}
}
...

// in reducer:
...
[a.updateActiveUsersNumber]: (state, { app, number }) => ({
  ...state,
  activeUsers: {
    ...state.activeUsers,
    [app]: number
  }
})
...

// component
const Achievements = ({ activeUsers: { pomodoro } }) => {
  return (
    ...
    <Achievement>
      <p>
        Creator of{' '}
        <AchievementLink target="_blank" href={POMODORO_URL}>
          Pomodoro by Increaser
        </AchievementLink>
      </p>
      {pomodoro > 0 && <ActiveUsers number={pomodoro} />}
    </Achievement>
    ...
  )
}
And component has some trick in it — if there are no active users right now — component won't show anything:)
Conclusion
In this story, we created a reusable function and infrastructure for getting the number of active users in your app in the current moment.