Implementing Magic Link Email Authentication in NextJS + NodeJS Applications


Introduction to Magic Link Email Authentication
In this post, I will demonstrate a basic implementation of magic link email authentication for NextJS + NodeJS applications. This authentication method is convenient and efficient, simplifying the process for both users and developers by eliminating the need to deal with passwords. While this explanation covers both front-end and back-end basics, remember that this is a simplified solution. If your application manages sensitive information or financial transactions, you would find it prudent to either enhance the security measures detailed here, or employ a third-party service. Our discussion relies on the Increaser codebase. It's kept in a private repository, but rest assured; all the necessary code snippets will be included directly in this blog post. Furthermore, you can find all the reusable hooks, components, and utility tools in the RadzionKit repository.
Front-End Implementation: Setup and Data Collection
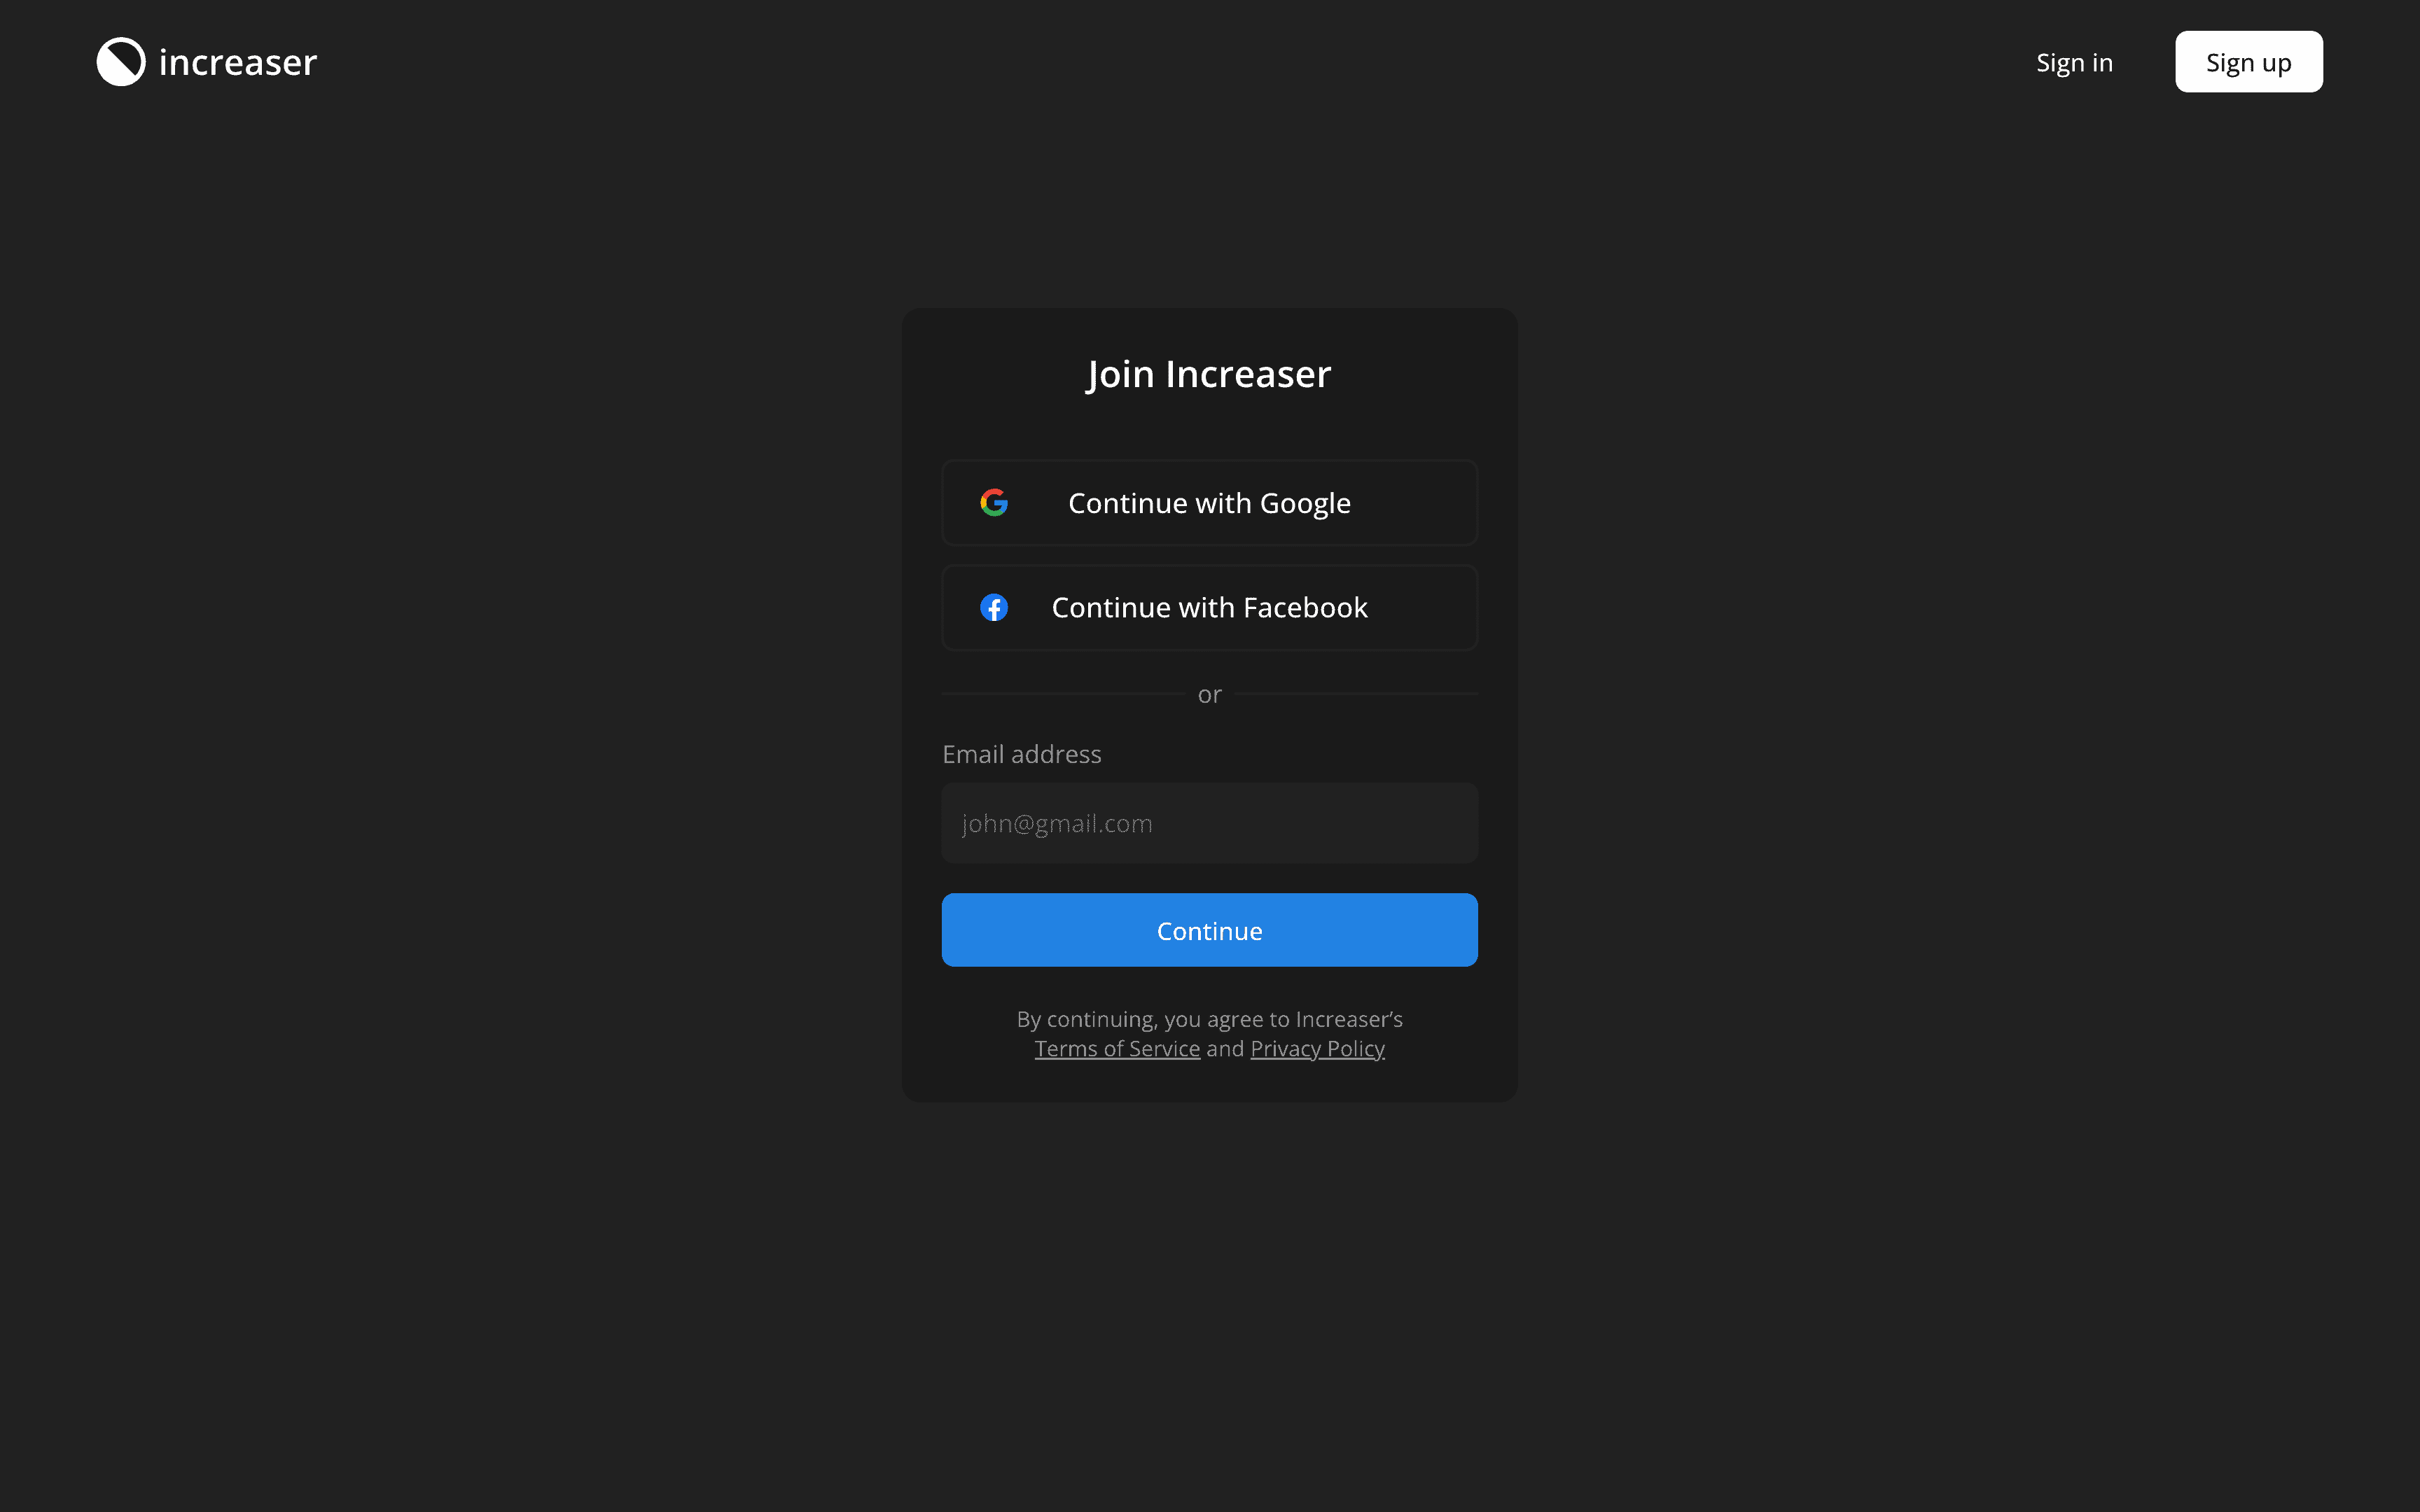
Let's begin with the front-end. I use the AuthProviders component on both sign-in and sign-up pages, which displays Facebook and Google authentication options as well as an EmailAuthForm. You can learn more about our OAuth implementation in my other post.
import { VStack } from "@increaser/ui/ui/Stack"

import { OptionsDivider } from "../OptionsDivider"
import { EmailAuthForm } from "./EmailAuthForm"
import { OAuthOptions } from "../OAuthOptions"

export const AuthProviders = () => {
  return (
    <VStack gap={20}>
      <OAuthOptions />
      <OptionsDivider />
      <EmailAuthForm />
    </VStack>
  )
}
The EmailAuthForm component deploys react-hook-form to manage the form, although this can also be achieved without use of library, given the simplicity of having only an email address input. Upon submission, we employ the useMutation hook from react-query to forward email addresses to the GraphQL API. If you're interested in an efficient way to generate and utilize types for your GraphQL projects, feel free to check out another post.
import { analytics } from "analytics"
import { useForm } from "react-hook-form"
import { useMutation } from "react-query"
import { Button } from "@increaser/ui/ui/buttons/Button"
import { Form } from "@increaser/ui/ui/Form/Form"
import { TextInput } from "@increaser/ui/ui/inputs/TextInput"

import { useRouter } from "next/router"
import { Path } from "router/Path"
import { validateEmail } from "@increaser/utils/validation/validateEmail"
import { addQueryParams } from "@increaser/utils/addQueryParams"
import { useApi } from "api/useApi"
import { graphql } from "@increaser/api-interface/client"

interface EmailFormState {
  email: string
}

const sendAuthLinkByEmailMutationDocument = graphql(`
  mutation sendAuthLinkByEmail($input: SendAuthLinkByEmailInput!) {
    sendAuthLinkByEmail(input: $input)
  }
`)

export const EmailAuthForm = () => {
  const { query } = useApi()

  const { push } = useRouter()

  const {
    register,
    handleSubmit,
    formState: { errors },
  } = useForm<EmailFormState>({
    mode: "onSubmit",
  })

  const { mutate: sendAuthLinkByEmail, isLoading } = useMutation(
    async ({ email }: EmailFormState) => {
      analytics.trackEvent("Start identification with email")

      await query(sendAuthLinkByEmailMutationDocument, {
        input: {
          email,
        },
      })

      return email
    },
    {
      onSuccess: (email) => {
        push(addQueryParams(Path.EmailConfirm, { email }))
      },
    }
  )

  return (
    <Form
      gap={4}
      onSubmit={handleSubmit((data) => {
        sendAuthLinkByEmail(data)
      })}
      content={
        <TextInput
          label="Email address"
          type="email"
          autoFocus
          placeholder="john@gmail.com"
          {...register("email", {
            required: "Please enter your email",
            validate: validateEmail,
          })}
          error={errors.email?.message}
        />
      }
      actions={
        <Button size="l" isLoading={isLoading}>
          Continue
        </Button>
      }
    />
  )
}
Front-End Implementation: Email Confirmation Page
Before sending the request, we also trigger an analytics event for performance monitoring of our email authentication funnel. Thus, at Increaser, we've determined that email authentication has almost same conversion rate as OAuth options, but more people choose to log in via Google compared to email.

After a successful request, we'll direct the user to the email confirmation page, which resides under the /email-confirm route at Increaser.
import { makeAuthPage } from "layout/makeAuthPage"
import { ConfirmEmailAuthView } from "@increaser/ui/auth/ConfirmEmailAuthView"

export default makeAuthPage(() => <ConfirmEmailAuthView sender="increaser" />)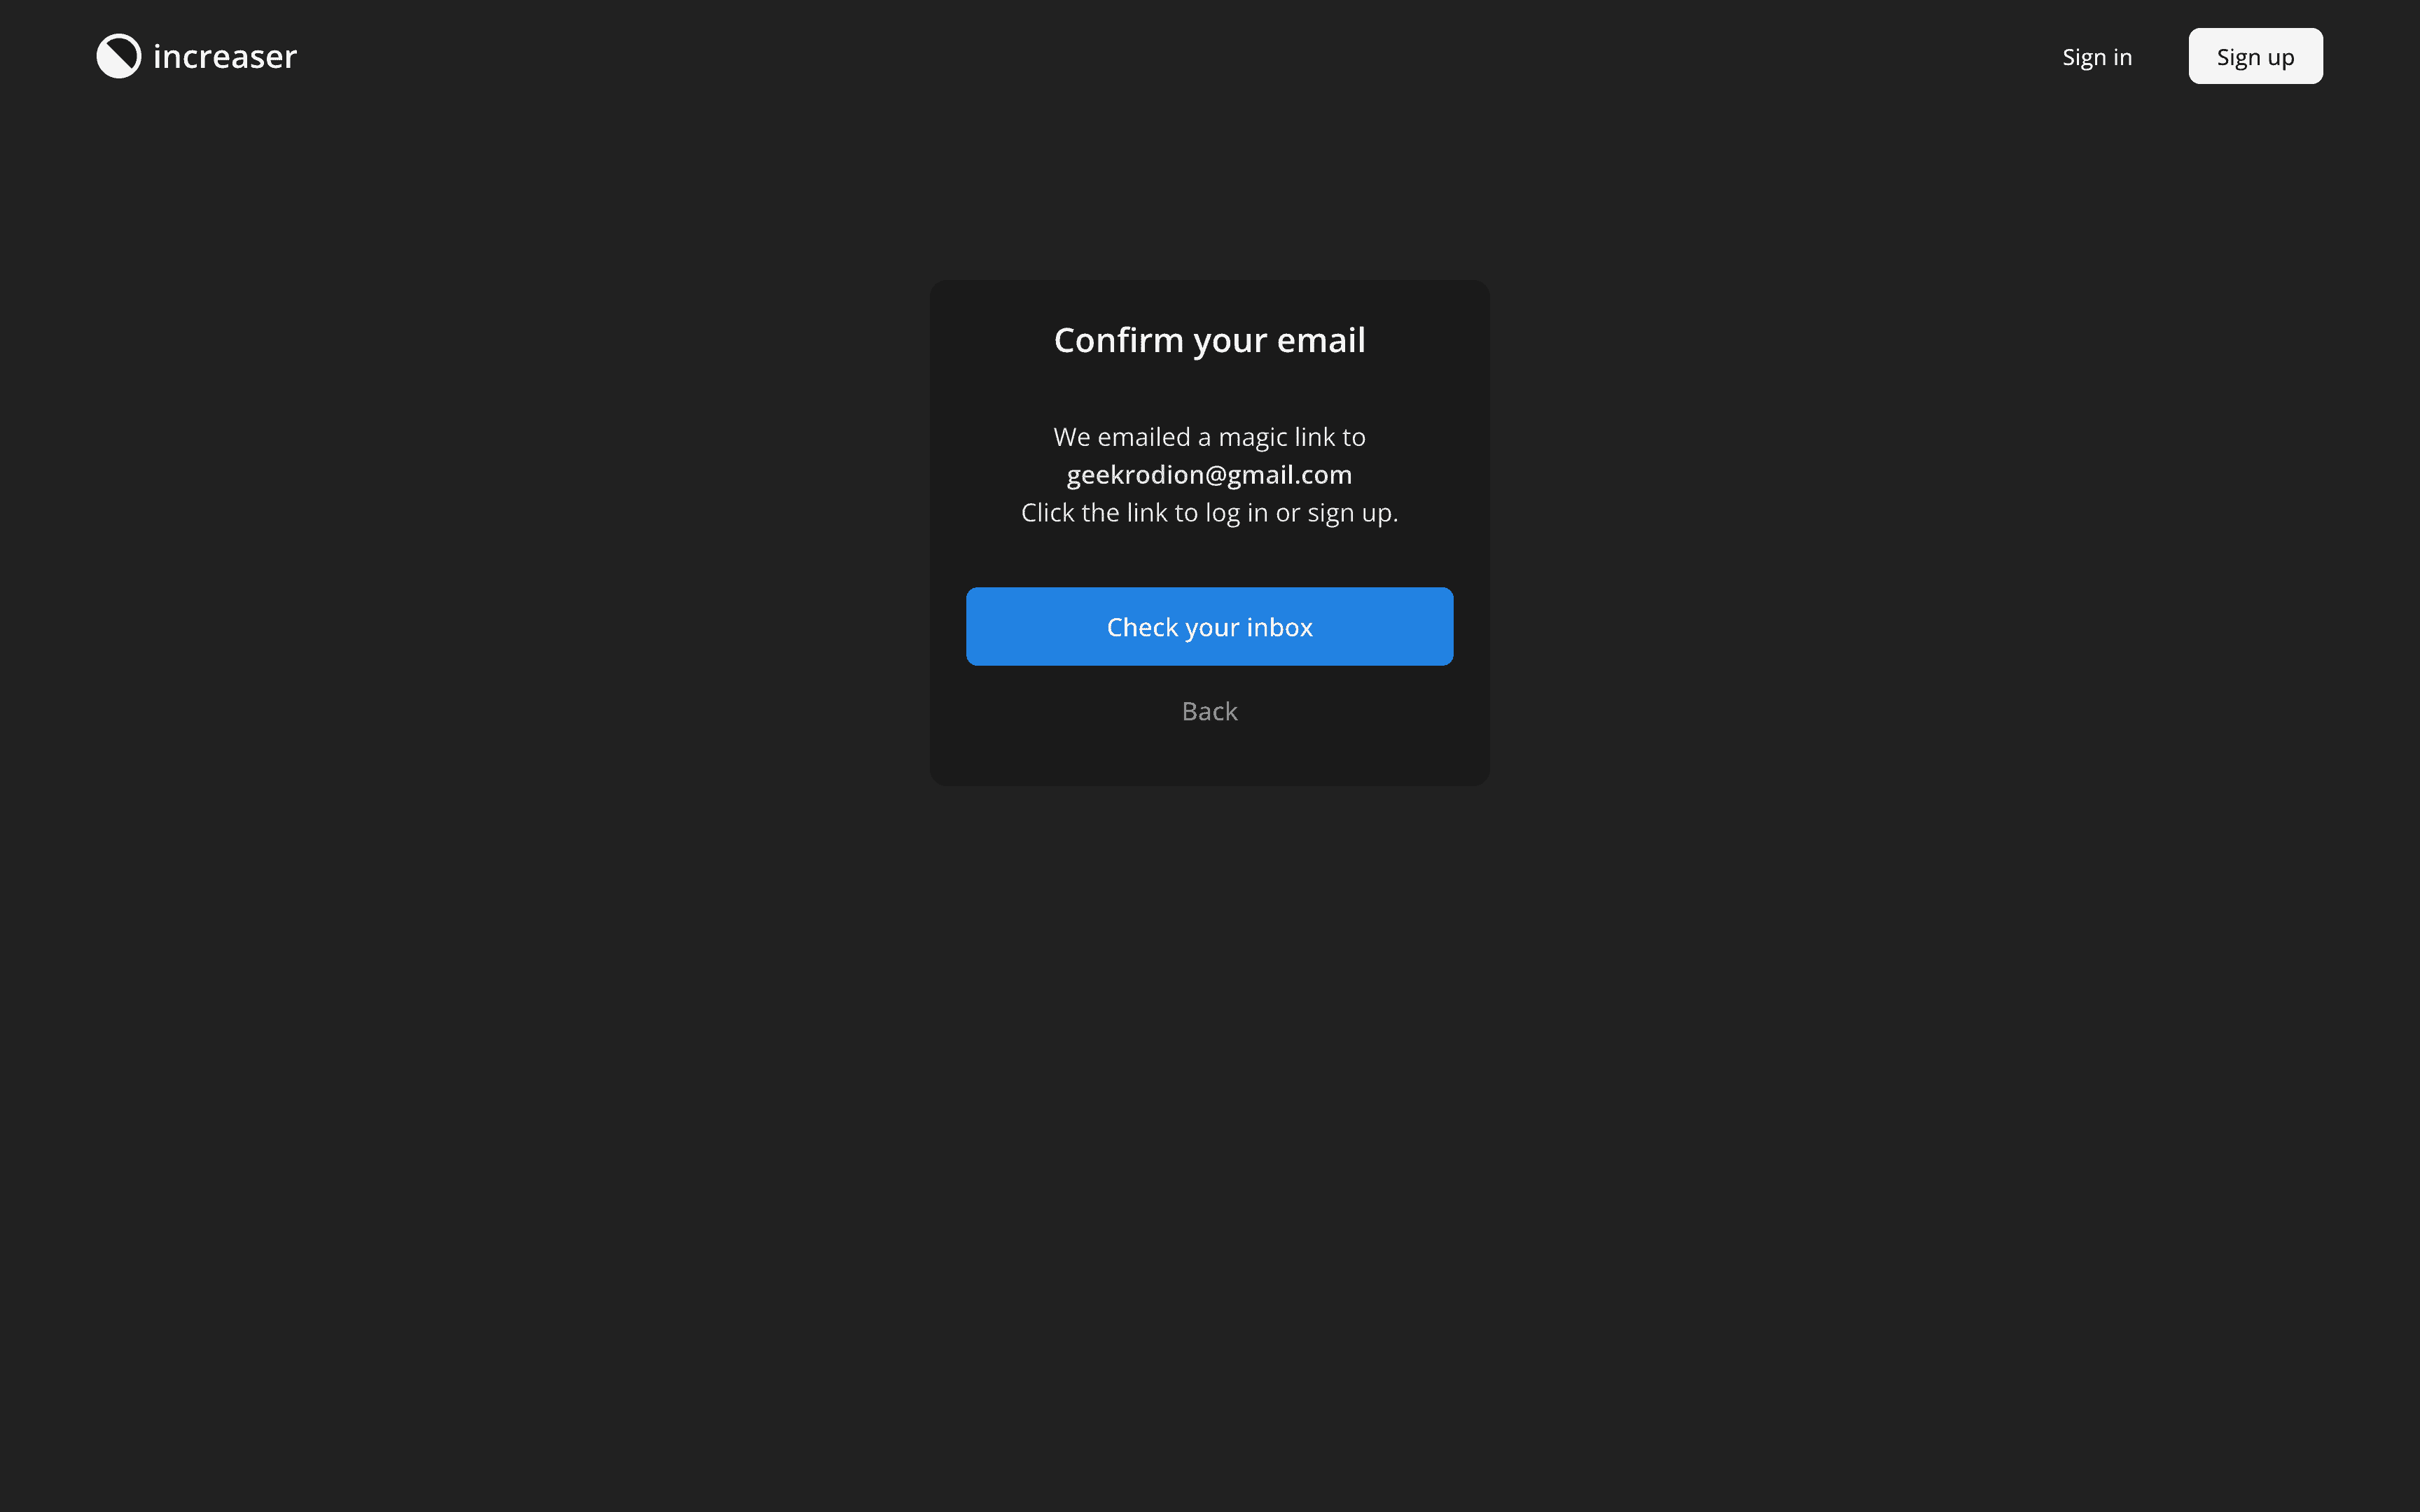
Within the ConfirmEmailAuthView component, we retrieve the email from the query parameters using the useHandleQueryParams hook from RadzionKit. Here, we prompt the user to check their email inbox and provide a return button in case they wish to amend their email address or try other login options.
import { VStack } from "../ui/Stack"
import { Text } from "../ui/Text"
import { useState } from "react"
import { useRouter } from "next/router"
import { AuthView } from "./AuthView"
import { useHandleQueryParams } from "../navigation/hooks/useHandleQueryParams"
import { suggestInboxLink } from "@increaser/utils/suggestInboxLink"
import { ExternalLink } from "../navigation/Link/ExternalLink"
import { Button } from "../ui/buttons/Button"

interface EmailConfirmQueryParams {
  email: string
}

interface ConfirmEmailAuthViewProps {
  sender?: string
}

export const ConfirmEmailAuthView = ({ sender }: ConfirmEmailAuthViewProps) => {
  const [email, setEmail] = useState<string | undefined>()
  useHandleQueryParams<EmailConfirmQueryParams>(({ email }) => setEmail(email))

  const { back } = useRouter()

  const inboxLink = email && suggestInboxLink(email, sender)

  return (
    <AuthView title="Confirm your email">
      {email && (
        <>
          <Text height="large" centered size={18}>
            We emailed a magic link to <br />
            <Text as="span" weight="bold">
              {email}
            </Text>
            <br />
            Click the link to log in or sign up.
          </Text>

          <VStack gap={4} fullWidth>
            {inboxLink && (
              <ExternalLink style={{ width: "100%" }} to={inboxLink}>
                <Button size="xl" as="div">
                  Check your inbox
                </Button>
              </ExternalLink>
            )}
            <Button onClick={back} size="xl" kind="ghostSecondary">
              Back
            </Button>
          </VStack>
        </>
      )}
    </AuthView>
  )
}
Front-end Interaction: Email Authentication Flow
We implement the suggestInboxLink function to infer the email client in use.
import { isOneOf } from "./array/isOneOf"
import { extractEmailProvider } from "./extractEmailProvider"
import { match } from "./match"

const emailProvidersWithClient = [
  "gmail",
  "outlook",
  "hotmail",
  "live",
  "yahoo",
  "protonmail",
  "aol",
  "zoho",
] as const

const outlookInboxLink = "https://outlook.live.com/mail/0/inbox"

export const suggestInboxLink = (
  email: string,
  sender?: string
): string | undefined => {
  const emailProvider = extractEmailProvider(email)
  if (!emailProvider) return undefined

  const emailProviderWithClient = isOneOf(
    emailProvidersWithClient,
    emailProvider
  )
  if (!emailProviderWithClient) return undefined

  return match(emailProviderWithClient, {
    gmail: () => {
      const url = "https://mail.google.com/mail/u/0/#search"
      if (!sender) return url

      const searchStr = encodeURIComponent(`from:@${sender}+in:anywhere`)
      return [url, searchStr].join("/")
    },
    outlook: () => outlookInboxLink,
    hotmail: () => outlookInboxLink,
    live: () => outlookInboxLink,
    yahoo: () => "https://mail.yahoo.com/d/folders/1",
    protonmail: () => "https://mail.protonmail.com/u/0/inbox",
    aol: () => "https://mail.aol.com/webmail-std/en-us/inbox",
    zoho: () => "https://mail.zoho.com/zm/#mail/folder/inbox",
  })
}
Initially, we extract the provider's name from the email using a basic regex expression.
export const extractEmailProvider = (email: string): string | undefined => {
  const regex = /(?<=@)\w+/

  const match = email.match(regex)
  return match ? match[0] : undefined
}
Then, we cross-reference the provider against a list of those that offer a web client, returning a link to the inbox if a match is found. For Gmail, we include a search query to highlight emails from the sender. Instead of a switch-case statement, we use the match function from RadzionKit.
Back-End Implementation: Managing Email Authentication Process
At this point, the user should receive an email containing a link to the /email-auth page, complete with a special authentication code. We'll delve into email distribution shortly; for now, let's examine the final phase of authentication flow on the front-end.
import { useHandleQueryParams } from "navigation/hooks/useHandleQueryParams"
import { useCallback } from "react"
import { AuthView } from "./AuthView"
import { getCurrentTimezoneOffset } from "@increaser/utils/time/getCurrentTimezoneOffset"
import { AuthConfirmationStatus } from "./AuthConfirmationStatus"
import { QueryApiError } from "api/useApi"
import { useAuthenticateWithEmailMutation } from "auth/hooks/useAuthenticateWithEmailMutation"

interface EmailAuthParams {
  code: string
}

export const EmailAuthContent = () => {
  const { mutate: identify, error } = useAuthenticateWithEmailMutation()

  useHandleQueryParams<EmailAuthParams>(
    useCallback(
      ({ code }) => {
        identify({
          code,
          timeZone: getCurrentTimezoneOffset(),
        })
      },
      [identify]
    )
  )

  return (
    <AuthView title={`Continue with email`}>
      <AuthConfirmationStatus error={error as QueryApiError | undefined} />
    </AuthView>
  )
}
The EmailAuthContent manages the query parameter through the same useHandleQueryParams hook. However, this time we'll call the useAuthenticateWithEmailMutation hook to dispatch the code to the GraphQL API. Here, the user is shown either a spinner (whilst the request is still being processed) or an error message (if something goes wrong). A successful request prompts an immediate redirection for the user to the home page. To display the status, we render the AuthConfirmationStatus component, which is also reused in the OAuth flow. We also provide a prompt to contact support in cases where the user encounters an error.
import { CopyText } from "@increaser/ui/ui/CopyText"
import { Spinner } from "@increaser/ui/ui/Spinner"
import { VStack } from "@increaser/ui/ui/Stack"
import { Text } from "@increaser/ui/ui/Text"
import { Button } from "@increaser/ui/ui/buttons/Button"
import { InfoIcon } from "@increaser/ui/ui/icons/InfoIcon"
import { QueryApiError } from "api/useApi"
import Link from "next/link"
import { Path } from "router/Path"
import { AUTHOR_EMAIL } from "shared/externalResources"

interface AuthConfirmationStatusProps {
  error?: QueryApiError
}

export const AuthConfirmationStatus = ({
  error,
}: AuthConfirmationStatusProps) => {
  return (
    <VStack alignItems="center" gap={20}>
      <Text
        style={{ display: "flex" }}
        color={error ? "alert" : "regular"}
        size={80}
      >
        {error ? <InfoIcon /> : <Spinner />}
      </Text>
      {error ? (
        <>
          <Text style={{ wordBreak: "break-word" }} centered height="large">
            {error.message}
          </Text>
          <Link style={{ width: "100%" }} href={Path.SignIn}>
            <Button kind="secondary" style={{ width: "100%" }} size="l">
              Go back
            </Button>
          </Link>
          <Text centered color="supporting" size={14}>
            Nothing helps? Email us at <br />
            <CopyText color="regular" as="span" content={AUTHOR_EMAIL}>
              {AUTHOR_EMAIL}
            </CopyText>
          </Text>
        </>
      ) : null}
    </VStack>
  )
}
Within the useAuthenticateWithEmailMutation hook, we use the useApi hook that abstracts server interactions to send a request to our GraphQL API. Upon successful request, we'll update the state with the JWT token that we will use to authenticate the user on the front-end.
import { graphql } from "@increaser/api-interface/client"
import { useMutation } from "react-query"

import { useApi } from "api/useApi"
import { AuthSessionWithEmailInput } from "@increaser/api-interface/client/graphql"
import { useAuthSession } from "./useAuthSession"

const authSessionWithEmailDocument = graphql(`
  query authSessionWithEmail($input: AuthSessionWithEmailInput!) {
    authSessionWithEmail(input: $input) {
      token
      expiresAt
      isFirst
    }
  }
`)

export const useAuthenticateWithEmailMutation = () => {
  const { query } = useApi()

  const [, updateSession] = useAuthSession()

  return useMutation(async (input: AuthSessionWithEmailInput) => {
    const { authSessionWithEmail } = await query(authSessionWithEmailDocument, {
      input,
    })

    updateSession(authSessionWithEmail)
  })
}
Back-End Implementation: Generating and Sending Auth Link
We store the JWT token in the local storage, after which the useApi hook will attach the token to every request to the GraphQL API. The use of the useAuthSession wraps around the usePersistentState hook, which is expounded upon in my other post. This stage also involves sending analytics events to monitor authentication flow, as this hook is the sole process by which we modify session state.
import { AuthSession } from "@increaser/api-interface/client/graphql"
import { analytics } from "analytics"
import { useCallback } from "react"
import { useQueryClient } from "react-query"
import { PersistentStateKey, usePersistentState } from "state/persistentState"

export const useAuthSession = () => {
  const queryClient = useQueryClient()

  const [session, setSession] = usePersistentState<AuthSession | undefined>(
    PersistentStateKey.AuthSession,
    undefined
  )

  const onChange = useCallback(
    (session: AuthSession | undefined) => {
      if (session) {
        analytics.trackEvent("Finish identification")

        if (session.isFirst) {
          analytics.trackEvent("Finish Sign Up")
        }
      } else {
        queryClient.clear()
      }

      setSession(session)
    },
    [queryClient, setSession]
  )

  return [session, onChange] as const
}
An essential point of observation is that I disable React's strict mode; this prevents the component from re-rendering during local usage of the app and causing a second API request. This is achieved by adding reactStrictMode: false to the next.config.js file. If you know of a method that prevents a second request while maintaining React's strict mode, please share it.
const nextConfig = {
  reactStrictMode: false,
  // ...
}
From our front-end interaction with the API, it's clear that there must be two GraphQL endpoints managing the email authentication process. The sendAuthLinkByEmail mutation sends an email containing a unique code to the user, while the authSessionWithEmail query authenticates the user and returns a session - this includes a JWT token, expiry date, and a flag signifying if it's the user's first time logging in. In the AuthSessionWithEmailInput, we include a timeZone parameter. This is specific to Increaser, and may not be necessary for your application.
type AuthSession {
  token: String!
  expiresAt: Int!
  isFirst: Boolean
}

input SendAuthLinkByEmailInput {
  email: String!
}

input AuthSessionWithEmailInput {
  code: String!
  timeZone: Int!
}

type Query {
  authSessionWithEmail(input: AuthSessionWithEmailInput!): AuthSession!
}

type Mutation {
  sendAuthLinkByEmail(input: SendAuthLinkByEmailInput!): Boolean
}
Next, let's explore the implementation of the sendAuthLinkByEmail mutation. We generate a JWT token for authentication, construct a login URL (which leads to the /email-auth page on our front-end with an attached auth code as a query parameter), and finally send the user an email comprising this login URL.
import { addQueryParams } from "@increaser/utils/addQueryParams"
import { MutationResolvers } from "../../gql/schema"
import { generateAuthLinkToken } from "../helpers/generateAuthLinkToken"
import { assertEnvVar } from "../../shared/assertEnvVar"
import { sendLoginLinkEmail } from "@increaser/email/utils/sendLogInLinkEmail"

export const sendAuthLinkByEmail: MutationResolvers["sendAuthLinkByEmail"] =
  async (_: any, { input: { email } }): Promise<boolean> => {
    const code = await generateAuthLinkToken(email)
    const loginUrl = addQueryParams(`${assertEnvVar("APP_URL")}/email-auth`, {
      code,
    })

    await sendLoginLinkEmail({
      loginUrl,
      email,
    })

    return true
  }
Creating the code involves the jsonwebtoken library. The token is signed with a secret coming from the getSecret function, which varies based on your infrastructure setup. Maybe you can safely use environment variables, or if you operate within AWS - Secrets Manager (which I've discussed in this post) could be a good option. The code expires in 20 minutes. We employ the convertDuration function from RadzionKit to translate this duration from minutes to seconds.
import jwt from "jsonwebtoken"
import { getTokenExpirationTime } from "./getTokenExpirationTime"
import { getSecret } from "../../utils/getSecret"
import { convertDuration } from "@increaser/utils/time/convertDuration"

export const generateAuthLinkToken = async (email: string) =>
  jwt.sign(
    {
      email,
      exp: getTokenExpirationTime(convertDuration(20, "min", "s")),
    },
    await getSecret("EMAIL_SECRET")
  )
Managing Email Packages and Delivery
I keep my packages in a monorepo where the sendLoginLinkEmail function exists within the email package. Here, we use the react-email library to render the email templates and the sendEmail function to dispatch the emails. My first experience with react-email has been very positive. Prior to this, I was using a simple HTML string template that I would send to myself to verify that everything looked as it should. However, react-email allows email previewing in the browser and a more comfortable interaction with React as opposed to the novel syntax of other libraries like MJML.
import { render } from "@react-email/render"
import { sendEmail } from "./sendEmail"
import { productName } from "@increaser/entities"
import { getEnvVar } from "./getEnvVar"
import LoginLinkEmail, { LoginLinkEmailProps } from "../emails/LoginLinkEmail"

export const sendLoginLinkEmail = async ({
  loginUrl,
  email,
}: LoginLinkEmailProps) => {
  const body = render(<LoginLinkEmail loginUrl={loginUrl} email={email} />, {
    pretty: true,
  })

  return sendEmail({
    email,
    body,
    subject: `Log in to ${productName}`,
    source: `Log in <noreply@${getEnvVar("EMAIL_DOMAIN")}>`,
  })
}
The LoginLinkEmail component generates a simple email, featuring an app logo, heading, text detailing the link's validity duration, a login button, and the recipient email address. Notably, we're able to import a theme from the ui package to color buttons and text. The react-email Font component is used to load the same font as we use on the front-end.
import { lightTheme } from "@increaser/ui/ui/theme/lightTheme"
import {
  Body,
  Button,
  Container,
  Head,
  Heading,
  Html,
  Img,
  Preview,
  Section,
  Text,
  Font,
} from "@react-email/components"

export interface LoginLinkEmailProps {
  loginUrl: string
  email: string
}

export const LoginLinkEmail = ({
  loginUrl,
  email = "john@gmail.com",
}: LoginLinkEmailProps) => (
  <Html>
    <Head>
      <Font
        fontFamily="OpenSans"
        fallbackFontFamily="Verdana"
        webFont={{
          url: "https://fonts.gstatic.com/s/opensans/v36/memvYaGs126MiZpBA-UvWbX2vVnXBbObj2OVTS-mu0SC55I.woff2",
          format: "woff2",
        }}
        fontWeight={400}
        fontStyle="normal"
      />
      <Font
        fontFamily="OpenSans"
        fallbackFontFamily="Verdana"
        webFont={{
          url: "https://fonts.gstatic.com/s/opensans/v36/memSYaGs126MiZpBA-UvWbX2vVnXBbObj2OVZyOOSr4dVJWUgsg-1x4gaVIUwaEQbjA.woff2",
          format: "woff2",
        }}
        fontWeight={700}
        fontStyle="normal"
      />
    </Head>
    <Preview>Log in to Increaser</Preview>
    <Body style={main}>
      <Container style={container}>
        <Img
          src={`https://increaser.org/images/logo.png`}
          width="68"
          height="68"
          alt="Increaser"
        />
        <Heading style={heading}>Increaser</Heading>
        <Text>
          Click the button below to log in to <b>Increaser</b>.
          <br />
          This button will expire in 20 minutes.
        </Text>
        <Section style={buttonContainer}>
          <Button pY={20} pX={20} style={button} href={loginUrl}>
            Log in to Increaser
          </Button>
        </Section>
        <Text>
          Confirming this request will securely log you in using{" "}
          <a style={userEmail}>{email}</a>.
        </Text>
        <Text>- Increaser Team</Text>
      </Container>
    </Body>
  </Html>
)

export default LoginLinkEmail

const main = {
  backgroundColor: lightTheme.colors.background.toCssValue(),
  color: lightTheme.colors.contrast.toCssValue(),
  fontFamily:
    'OpenSans,-apple-system,BlinkMacSystemFont,"Segoe UI",Roboto,Oxygen-Sans,Ubuntu,Cantarell,"Helvetica Neue",sans-serif',
}

const container = {
  margin: "0 auto",
  padding: "20px 0 48px",
  width: "500px",
}

const heading = {
  fontSize: "32px",
  fontWeight: "700",
  lineHeight: "1.3",
}

const button = {
  backgroundColor: lightTheme.colors.primary.toCssValue(),
  borderRadius: "8px",
  fontWeight: "700",
  color: lightTheme.colors.background.toCssValue(),
  fontSize: "18px",
  textDecoration: "none",
  textAlign: "center" as const,
  display: "block",
}

const buttonContainer = {
  padding: "8px 0 8px",
}

const userEmail = {
  textDecoration: "none",
  color: lightTheme.colors.primary.toCssValue(),
  fontWeight: 700,
}
The render function simply converts the React component to an HTML string. At Increaser I use AWS SES to send emails, a cost-effective solution that suits my volume. The problematic aspect is that it can't accommodate non-operational emails, as this can quickly lead to crossing the complaint threshold - I'm on the boundary of this while only sending transactional emails without any promotional content. In future projects, I plan to try another provider. The advantage of the monorepo approach is that it’s easy to replace the implementation of the sendEmail function in the email package while the other packages continue to function with the new implementation. However, updating environment variables in the packages that would utilize the new provider might be a bit cumbersome.
import { SESv2Client, SendEmailCommand } from "@aws-sdk/client-sesv2"
import { getEnvVar } from "./getEnvVar"

interface SendEmailParameters {
  email: string
  body: string
  subject: string
  source: string
}

const client = new SESv2Client({ region: getEnvVar("SES_AWS_REGION") })

export const sendEmail = ({
  email,
  body,
  subject,
  source,
}: SendEmailParameters) => {
  const command = new SendEmailCommand({
    Destination: {
      ToAddresses: [email],
    },
    Content: {
      Simple: {
        Body: {
          Html: {
            Data: body,
          },
        },
        Subject: {
          Data: subject,
        },
      },
    },
    FromEmailAddress: source,
  })

  return client.send(command)
}
Last Step: User Authentication and Validation
In the sendEmail function, we generate a SendEmailCommand which is sent via the SESv2Client. I depend on the getEnvVar function to access environment variables; it houses a type variable name parameter and throws an error if the specified variable is undefined.
type VariableName = "SES_AWS_REGION" | "EMAIL_DOMAIN"

export const getEnvVar = (name: VariableName): string => {
  const value = process.env[name]
  if (!value) {
    throw new Error(`Missing ${name} environment variable`)
  }

  return value
}
The last step is to authenticate with the authSessionWithEmail query. Initial validation is carried out before returning a session.
import { OperationContext } from "../../gql/OperationContext"
import { QueryResolvers } from "../../gql/schema"
import { authenticateWithEmail } from "../utils/authenticateWithEmail"
import { authorize } from "../utils/authorize"

export const authSessionWithEmail: QueryResolvers<OperationContext>["authSessionWithEmail"] =
  async (_, { input: { code, timeZone } }, { country }) => {
    const result = await authenticateWithEmail({
      code,
    })

    return authorize({
      timeZone,
      country,
      ...result,
    })
  }
The authenticateWithEmail function verifies the JWT token and extracts the email from its payload.
import { getSecret } from "../../utils/getSecret"
import { AuthenticationResult } from "./AuthenticationResult"
import jwt from "jsonwebtoken"

interface AuthenticateWithEmailParams {
  code: string
}

interface EmailCodePayload {
  email: string
}

export const authenticateWithEmail = async ({
  code,
}: AuthenticateWithEmailParams): Promise<AuthenticationResult> => {
  const secret = await getSecret("EMAIL_SECRET")
  const { email } = jwt.verify(code, secret) as EmailCodePayload

  return {
    email,
  }
}
The authorize function checks if the user associated with the given email exists in the database, creating one if necessary.
import { getUserByEmail, putUser } from "@increaser/db/user"
import { AuthSession } from "../../gql/schema"
import { AuthenticationResult } from "./AuthenticationResult"
import { getAuthSession } from "./getAuthSession"
import { getUserInitialFields } from "@increaser/entities-utils/user/getUserInitialFields"

interface AuthorizeParams extends AuthenticationResult {
  timeZone: number
  country?: string
}

export const authorize = async ({
  email,
  name,
  country,
  timeZone,
}: AuthorizeParams): Promise<AuthSession> => {
  const existingUser = await getUserByEmail(email, ["id"])
  if (existingUser) {
    return getAuthSession(existingUser.id)
  }

  const newUser = getUserInitialFields({
    email,
    name,
    country,
    timeZone,
  })

  await putUser(newUser)

  return {
    ...getAuthSession(newUser.id),
    isFirst: true,
  }
}
It then returns a session with a JWT token, expiration date, and a flag denoting if the user is logging in for the first time using the getAuthSession function.
import { convertDuration } from "@increaser/utils/time/convertDuration"
import { AuthSession } from "../../gql/schema"
import jwt from "jsonwebtoken"
import { getSecret } from "../../utils/getSecret"

const tokenLifespanInDays = 300

export const getAuthSession = async (id: string): Promise<AuthSession> => {
  const expiresAt = Math.round(
    convertDuration(Date.now(), "ms", "s") +
      convertDuration(tokenLifespanInDays, "d", "s")
  )
  const secret = await getSecret("SECRET")
  const token = jwt.sign({ id, exp: expiresAt }, secret)

  return {
    token,
    expiresAt,
  }
}